

Help with your ODM Remote Fob
Your Garolla remote fob makes operating your garage door quick and convenient. On this page, you’ll find step-by-step guidance for pairing your ODM fob and replacing its battery, so you can keep everything running smoothly.
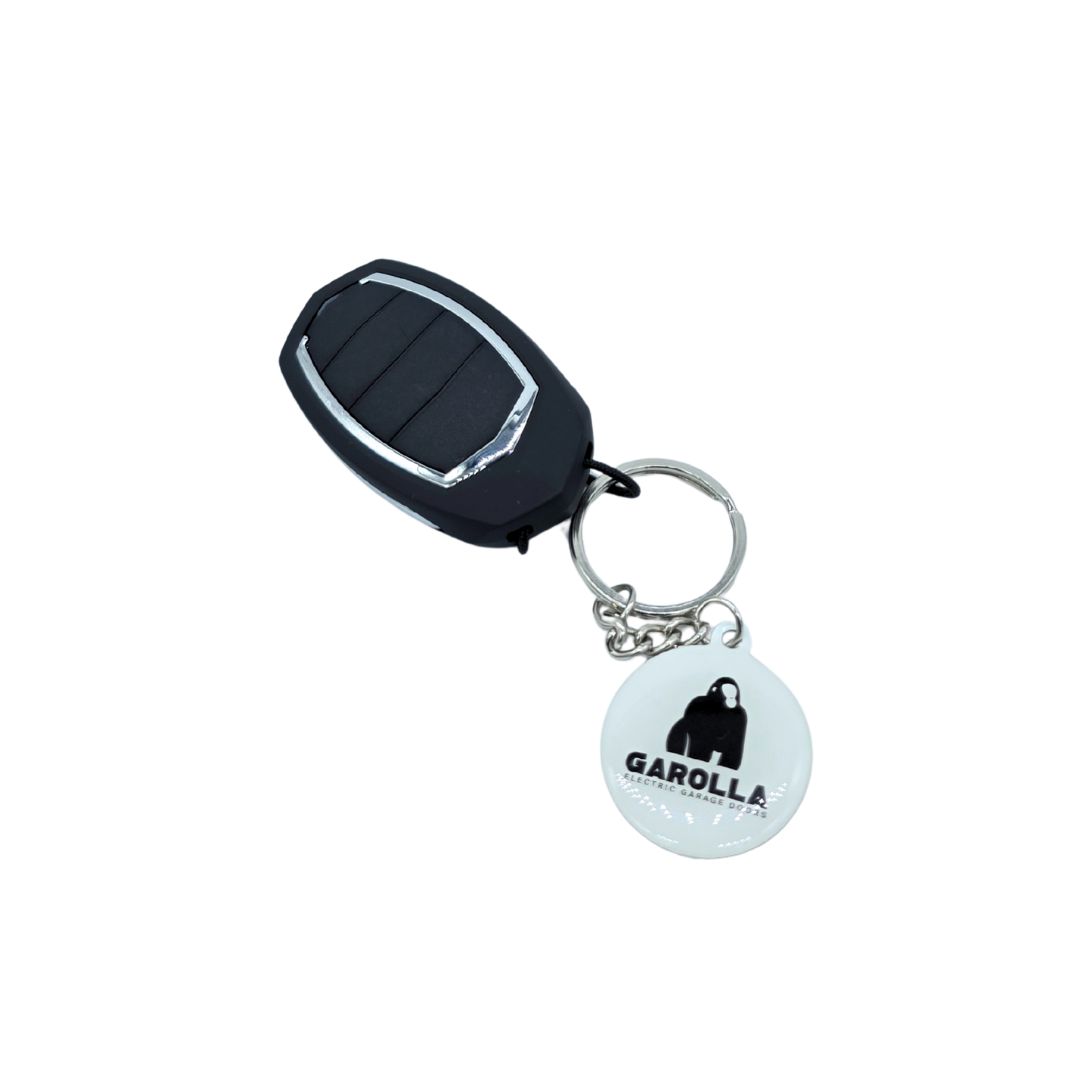
ODM fob remote programming
Pairing to a receiver:
- Open the front cover of the control unit
- Locate and press LEARN button for 2 seconds
- When the LED lights up, press STOP. LED will flash
Pairing will be complete.
The door is now ready for normal use.
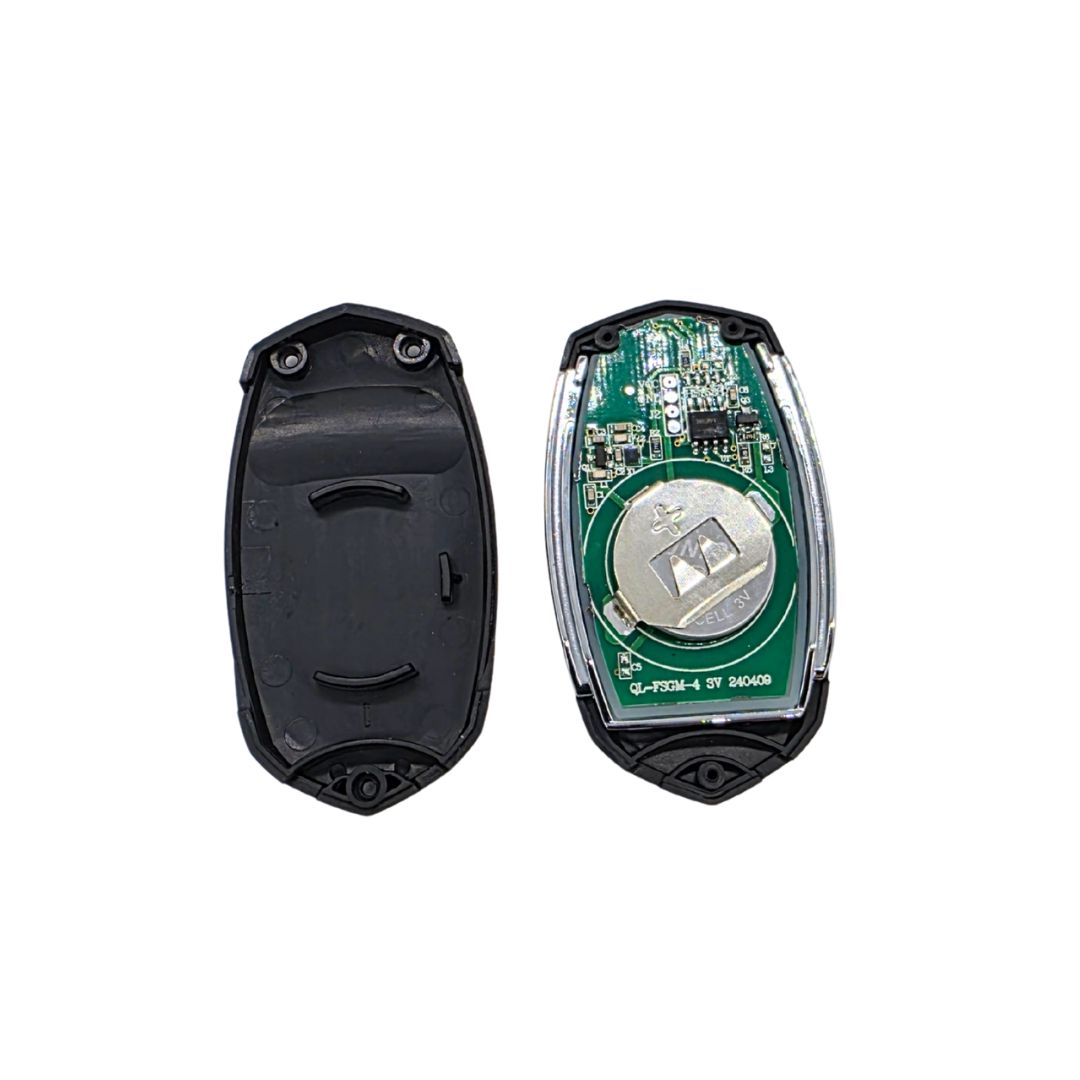
Replacing the battery
You’ll need:
- 1 × CR2032 coin cell battery
- Small Phillips screwdriver
Steps:
- Place the remote face-down on a soft surface.
- Remove the screw on the back with a small Phillips screwdriver and set it aside safely.
- Lift off the back cover.
- Take out the old CR2032 battery, noting the way it’s positioned (+ side facing up).
- Insert the new CR2032 battery in the same orientation.
- Replace the back cover and screw it closed.
- Test the remote by pressing a button to make sure it operates your door.
Tip: Make sure the battery is inserted with the correct polarity. If the fob doesn’t work after replacing the battery, check the contacts are clean and properly seated. Some systems may require reprogramming after battery replacement.
Haven't found what you're looking for?
If you can’t find an answer to your problem, our customer care team is on hand to help. Get in touch via the methods below, or click on our live chat icon...
Help Centre home > Choose your remote fob > ODM fob