
Help with your Black Neco Fob
Your Garolla remote fob makes operating your garage door quick and convenient. On this page, you’ll find step-by-step guidance for pairing your Black Neco fob and replacing its battery, so you can keep everything running smoothly.
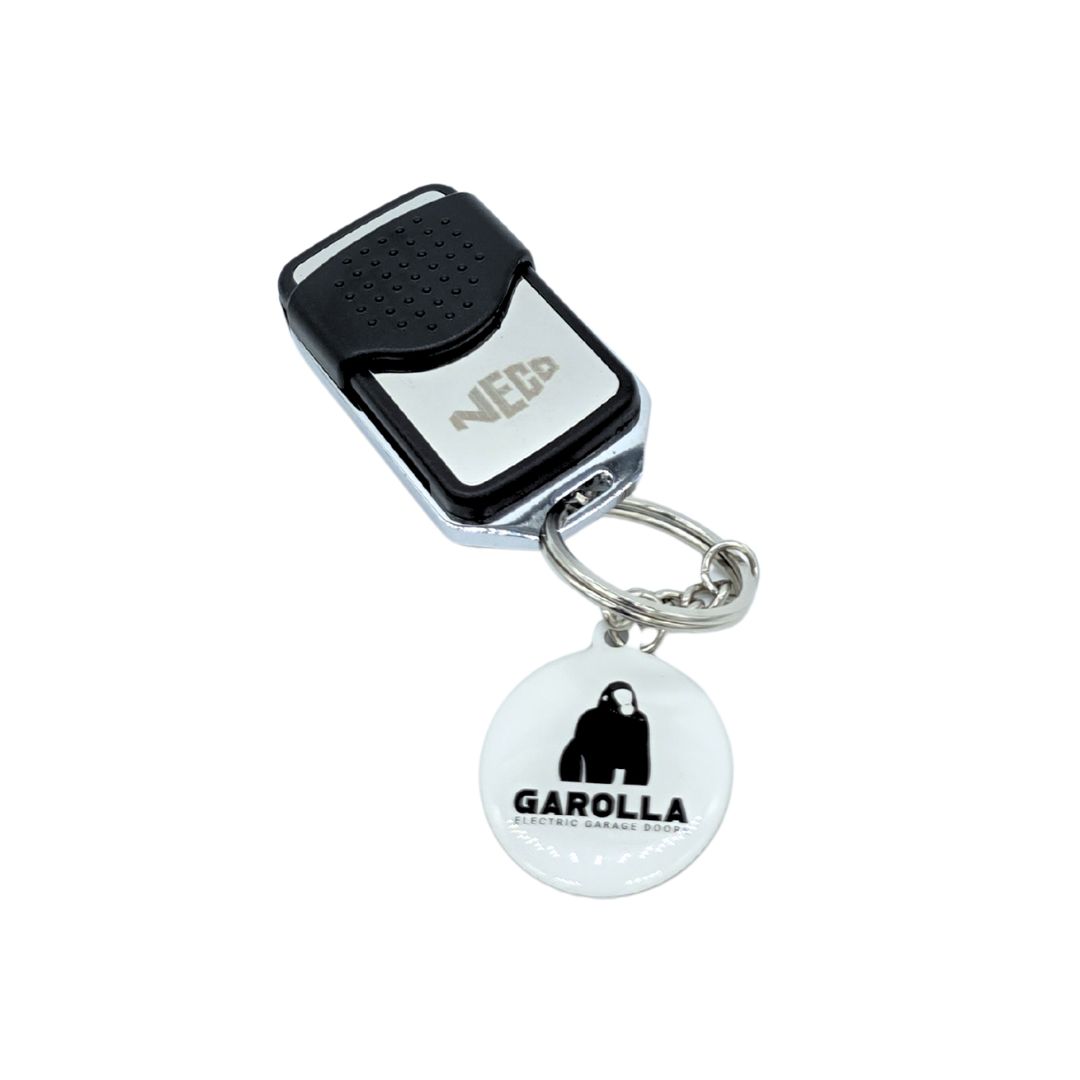
Black Neco fob remote programming
- Locate the Receiver – Find your Neco receiver unit. It’s usually installed near the motor or tucked above a false ceiling.
- Open the Receiver – Remove the casing cover to access the circuit board inside.
- Press the Learn Button – Look for the programming button on the board (often marked ENR, MEMO, PROG, or simply a small black button) and press it.
- Check the LED – The LED light on the receiver will switch on or start blinking to show it’s in programming mode.
- Pair the Remote – Press and hold the button on your new remote for about one second.
- Confirm the Connection – Release the button. The LED will turn off or stop blinking, confirming your remote is successfully programmed.
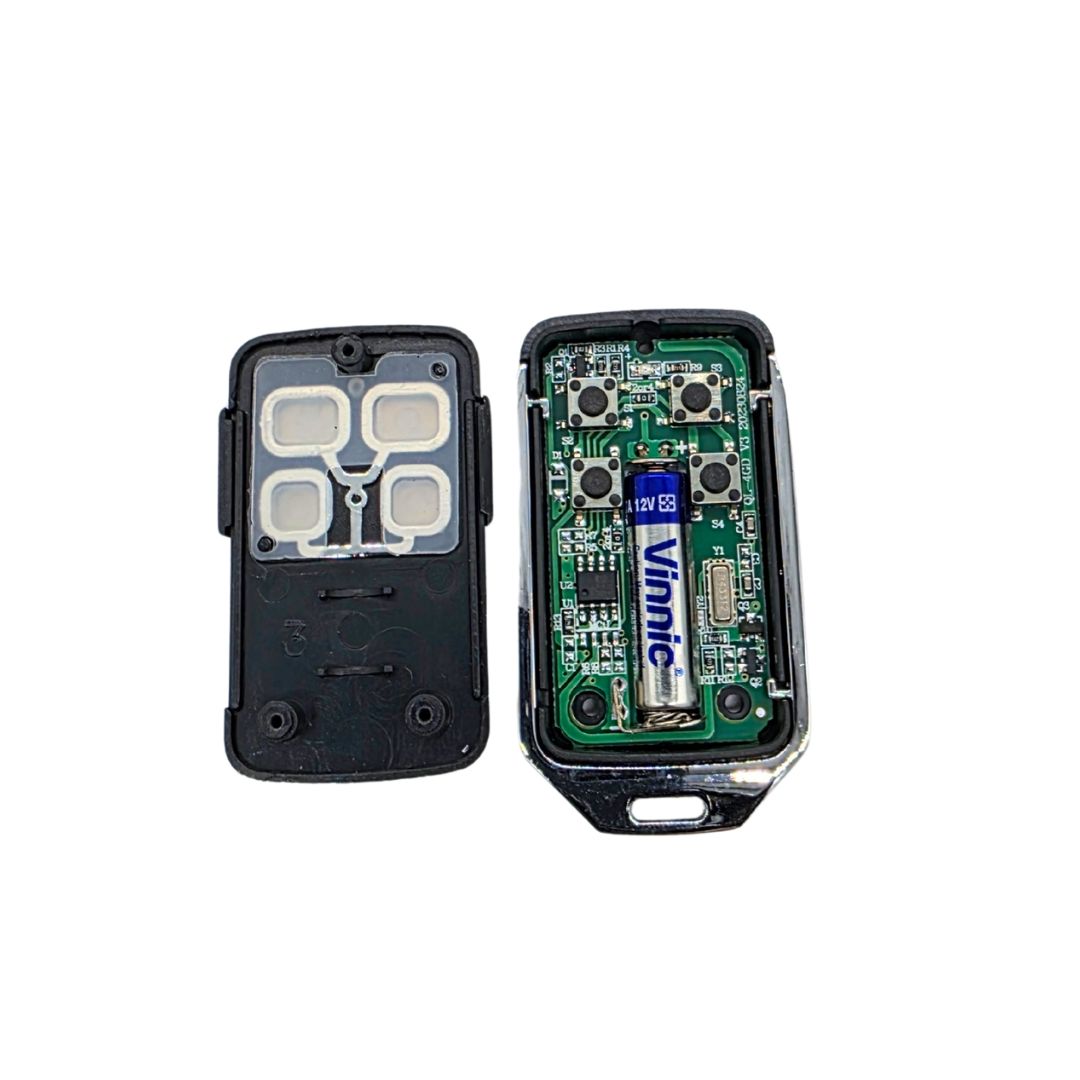
Replacing the battery
You’ll need:
- 1 × L828F 27A 12V alkaline battery
- Small Phillips screwdriver
Steps:
1. Remove the three screws on the back to release the casing. Using your fingernail, gently pull the top of the battery out of the metal housing on the circuit board.
2. Swap the L828F 27A 12V alkaline battery, with the '+' end facing upwards.
3. Refit the casing and screws on the back.
Follow the steps above to re-pair the remote.
Tip: Make sure the battery is inserted with the correct polarity. If the fob doesn’t work after replacing the battery, check the contacts are clean and properly seated. Some systems may require reprogramming after battery replacement.
Haven't found what you're looking for?
If you can’t find an answer to your problem, our customer care team is on hand to help. Get in touch via the methods below, or click on our live chat icon...
Help Centre home > Choose your remote fob > Black Neco fob